Operating Instructions
The top Rotary Switch A is for brightness adjustment and the Rotary Switch B is for color temperature selection, the top electronic switch is for output selection of red light mode and mode switching.
On/off
On: with the lantern switched off, rotate the Switch A clockwise or long press the top electronic switch to turn on the lantern.
Off: with the lantern switched on, rotate the Switch A counterclockwise to the OFF state or long press the top electronic switch to turn off the lantern.
Mode Switching
The lantern has four modes: Floodlight mode, Spotlight mode, Spot-and-floodlight mode, and Red light mode.
- With the lantern switched off, rotate the Switch A clockwise to turn on the lantern and enter the Floodlight mode, single click the top electronic switch to cycle through Floodlight mode→Spotlight mode→Spot-and-floodlight mode.
- With the lantern switched off, press and hold the top electronic switch for 0.5 seconds to turn on the lantern and enter the Red light mode.
Note: the Red light mode cannot be operated with other modes simultaneously.
Output Selection
In Floodlight mode, Spotlight mode or Spot-and-floodlight mode:
Rotate the Switch A clockwise to change the brightness from low to high, and rotate counterclockwise to change the brightness from high to low.
Rotate the Switch B clockwise to change the color temperature from warm to cold, and rotate counterclockwise to change the color temperature from cold to warm.
Note: The color temperature of Spotlight is 5700K. Only the color temperature of the Floodlight is adjustable, with a range from 2700K to 6500K.
In Red light mode:
Single click the top electronic switch to select between Red constant-on and Red flashing.
Battery Specifications
Type | Dimensions | Nominal Voltage | Usability |
|
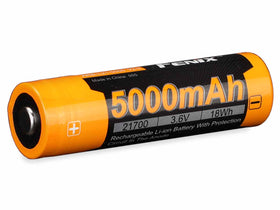
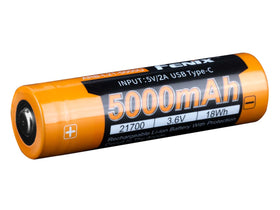
Fenix ARB-L21-5000 Series | 21700 | 3.6 V | Recommended | √√ |
Fenix ARB-L18 Series | 18650 | 3.6 V | Usable* | √ |
Rechargeable Battery (Li-ion) | 21700 | 3.6 V | Caution** | ! |
Rechargeable Battery (Li-ion) | 18650 | 3.6 V | Banned | × |
Warning:
*The Fenix ARB-L18 series battery should be used with a Fenix ALF-18 battery holder.
**21700 Li-ion batteries are powerful cells designed for commercial applications and must be treated with caution and handled with care. Only using quality batteries with circuit protection will reduce the potential for combustion or explosion. Cell damage or short circuiting caused by using this type of battery is considered user induced damage and is not covered by any Fenix warranty or liability.
Battery Replacement
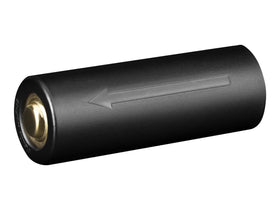
Use the included battery cover key to snap in the groove of the battery cover, and rotate counterclockwise to unscrew the battery cover. Insert the battery with the anode side (+) towards the inner side, then screw the battery cover back on.
*Unscrewing the battery cover with a sharp tool can cause damage to the battery cover.
Charging
- Open the anti-dust cover to reveal the USB Type-C charging port and connect the USB Type-C socket of the charging cable to the lantern.
- When charging, the charging indicators will flash from left to right to display the charging status.
- The four indicators will be constant-on after charging is completed.
Note:
- The lantern can be operated while charging.
- Once charging is completed, be sure to close the anti-dust cover to maintain the dustproof and waterproof ability.
- The normal charging time of the lantern is approximately 2.5 hours from depleted to fully charged.
Battery Level Indication
Each time the light is turned on, the indicator(s) will show the battery level and will last for 3
seconds. With the lamp switched off, single click the top electronic switch to check the battery level and the indicator(s) will last for 3 seconds.
Four lights on: 100% - 80%
Three lights on: 80% - 60%
Two lights on: 60% - 40%
One light on: 40% - 20%
One light flashes: 20% - 1%
*Note: This feature only works with a Fenix ARB-L21 battery.
Low-voltage Warning
When the voltage level drops below the preset level, one of the battery level indicators constantly blinks to remind you to timely recharge the battery. To ensure normal use, the lantern will not turn off automatically and will work till the battery level runs out.
Usage and Maintenance
- Disassembling the sealed parts in lantern can cause damage to the lantern and will void the warranty.
- Recharge a stored lantern every three months to maintain optimum performance of the battery.
- Loosen the battery cover half a turn or remove the battery to prevent accidental activation during storage or transportation.
- The lantern may flicker, shine intermittently or even fail to illuminate for the following reasons:
A: Poor battery level.
Solution: Recharge or replace the battery.
B: The threads, PCB board contact or other contacts are dirty.
Solution: Clean the contact points with a cotton swab soaked in rubbing alcohol.
If the above methods don't work, please contact your authorized distributor.
Warning
- DO NOT place this lantern in the reach of children!
- Do NOT shine the lantern directly into the eyes of anyone!
- Do NOT place lantern near flammable objects, high temperatures can cause objects to overheat and become flammable/ignite!
- Do NOT use the lantern in inappropriate ways such as holding the unit in your mouth, doing so could cause serious personal injury or death if the lantern or internal battery fails!
- This lantern will accumulate a significant amount of heat while operating, resulting in a high temperature of the lantern shell. Pay close attention to avoid burns.
- Turn off the lantern or take out the battery to prevent accidental activation during storage or transportation.
- The LEDs of this lantern are not replaceable; so the whole lantern will need to be replaced when any of the LEDs reaches the end of its lifespan.


