Operation Instruction for the HL60R
ON/OFF
Press and hold the side switch for 0.5 seconds to turn ON/OFF the headlamp.
HL60R Output Selection
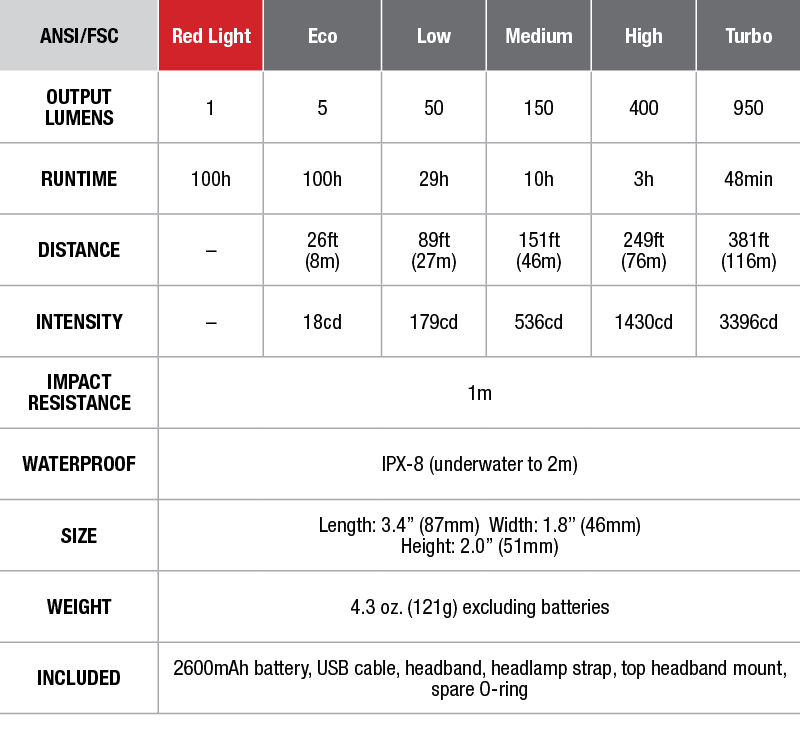
With the lamp on, click the switch to cycle through Turbo→Red light→Eco→Low→Mid→High.
Intelligent Memory Circuit
The headlamp remembers the last-used brightness level, the next time it is turned on, it will recall that previously used brightness level.
Battery Level Indicator
Click the switch when the lamp is off, the battery indicator will be on for three seconds:
- White LED flashes: more than 70% remaining
- White LED and two Red LEDs flash alternately: 30% - 70%
- Two Red LEDs flash: less than 30% remaining.
Low-voltage Warning
With the lamp on, the two red LEDs will flash at 1Hz when battery capacity is less than 20%. If red constant-on is being used, then the two red LEDs will flash. If white light is being used, then the two red LEDs will flash along with the white light lit on. Please recharge the lamp or change battery ASAP when warning occurs.
Charging the HL60R USB Rechargeable Headlamp
- Plug the USB port of the charging cable into any USB power supplier, then uncover the anti-dust cap, plug the Micro USB port of the charging cable into the charging port of the headlamp.
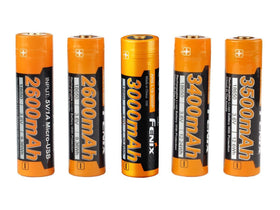
- The two red LEDs will flash simultaneously at 0.5Hz when in charging process. The normal charging time of the Fenix ARB-L18-2600 18650 rechargeable Li-ion battery is about four hours. The two red LEDs will be constant-on when charging is completely done.
- Once charging is completed, be sure to plug the anti-dust cap cover.
- Please recharge a stored headlamp every four months to maintain optimum performance of the battery.
Battery Replacement
Unscrew the battery cap to insert the battery with the correct directions of the battery anode, screw the battery cap back on.
Headlamp Strap Assembling
Notice: The headlamp strap is factory default assembled.
- Slide the buckle to adjust the headband length as wanted for size.
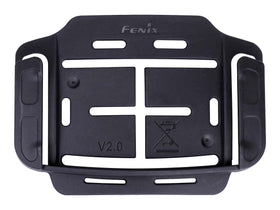
- First fasten the headband to the headlamp holder, and then attach the headband to the headlamp holder and top headband mount for additional stability.
Usage and Maintenance
- Disassembling the sealed head can cause damage to the headlamp and will void the warranty.
- Long-term use can result in O-ring wear. To maintain a proper water seal, replace the ring with an approved spare.
- Periodic cleaning of the battery contacts improves the performance of the headlamp as dirty contacts may cause the headlamp to flicker, shine intermittently or even fail to illuminate for the following reasons:
Reason A: The batteries need replacing.
Solution: Replace batteries (please confirm the correct installation of anode and cathode).
Reason B: The threads, PCB board contact or other contacts are dirty.
Solution: Clean the contact points with a cotton swab soaked in rubbing alcohol. If the above methods don't work, please refer to the warranty policy before contacting your authorized distributor.


